Tuesday, November 6, 2012

I vote for... a door that opens from the left!

I voted! (and I got about 2.75 stickers for it)
Happy election day! I had a great day today. I love my job, but it almost always involves working in the office all day, so whenever I'm out doing something else in the middle of a workday it feels sort of liberating - and today I was out for a big chunk of the day to go to our pre-construction meeting. We didn't need to leave the house till 9:30, so I went for a morning run (that never happens normally - sleep always beats working out on a typical morning!). After the meeting Bryan and I went to vote together, which took a while even mid-day with all the crazy lines this year!
Free tacos for voting from California Tortilla - yum!

Then, we went to get lunch, which was exciting because 1) it's rare that I buy lunch out during the week, 2) it's even more rare than Bryan & I get to eat lunch together, and 3) we got free tacos for voting! By the time I actually got to the office it was about 2:30, so I had a short & sweet few hours at work.

Back to the pre-construction meeting...We had already decided on all the finishes a while back, so this was the meeting to go over the tiny remaining details. As a very quick summary, this is some the stuff we went over in our two-hour meeting:

  • Exterior of the house: Where do the flood lights go? Where does the security camera go? Where do the outlets go? Which way does the door open? Where does the electrical box go?
  • Basement: Where does the electrical, gas, security, cable, sump pump, HVAC, and all that stuff go?
  • 1st floor: Where do the recessed lights go? Where does the security monitor and intercom system go? Where do you want to put the cable hookups in the family room & study? Where does the return air vent go?
  • 2nd floor: Where do the recessed lights go? Where do you want the cable hookups in all the bedrooms? Where does the access panel for the jetted tub go? Do you want a medicine cabinet in the master bath?
  • Grading plan: Going over utility lines, driveway, type of sewer system, etc.
  • Scheduling & Responsibilities: Going over the various details about how the process will work
Some of these decisions were a little weird to make, like the cable hookups in the smaller bedrooms. These bedrooms are for children that aren't even going to be born for a couple of years, so it's strange to think about where they might want the TV to go once they're old enough to have a TV. And there's one room we're going to use as a guest room initially, but we plan to use it as a playroom once the basement is finished (assuming there are kids to use a playroom at that point!) - so where should the cable go in there? It felt strange to talk about all that stuff!

Compared to the bigger decisions we had to make earlier on, none of these little details were on really 'fun' issues, but it still feels really exciting since we're getting so close!

And this time I actually thought to take some pictures while we were there. I updated my finishes post with pictures of some of our specific choices, but in this post, I thought I'd show some pics around the showroom...
Cabinets, cabinets, cabinets!

Bathrooms

And more bathroom stuff (so glad they added a new standard option and we didn't get any of this shiny white tile!)

Racks, and holders, and faucets, oh my!

Doorknobs, anyone?


Bryan & some fancy tile

The granite room


Some brick samples


Some tile options (this is our pattern for the master)


Outside of the ANV office/showroom

Thursday, November 1, 2012

Cinch up that trench: DIY ribbon belt

I have a basic black trench coat that's great for not-too-cold rainy weather, but sadly, I lost the belt for it a while back when it slipped off unnoticed on the metro one day. Without the belt, it just looks like a shapeless black sack, so I've been avoiding wearing it other than going in & out of the office or walking around the neighborhood.  I wore it a could days ago when we were still getting the tail end of the Sandy rain, and had an impromptu thought that maybe I could make a belt out of something in the hall closet (aka the 'closet of doom' where we stash basically everything - open at your own risk!). I had some black ribbon with white trim and thought that maybe the ribbon could work as a belt.  I think it turned out pretty well for a quick & cheap replacement belt. Although mine is just black, this could also be a good way to add a splash of color to a jacket too! (The knot is kind of funky in this pic - take a look at the ones below for a better idea).

Materials:
  • Ribbon (I used about 6 yards of 5/8" ribbon)
  • Sewing machine & thread
  • Scissors

All I did was measure a piece of ribbon around myself to see how long I wanted it, then I sewed three strips of ribbon together since my ribbon was narrow. After the three ribbons were together, I double folded the ends so the cut edge was hidden and sewed them.


The end result sort of reminds me of a floppy seatbelt (but in a good way... if that's possible...). The thickness of the ribbon seems good for a jacket belt - it's thick enough to give it some durability and is easy to tie and untie. It's nothing fancy, but I think it works as well as the original.
Here are some more pics of the finished product:


Like usual, Smokey wanted to get in on the action. It's hard to take pictures when someone keeps laying on your work!


And I had to include this timer pic fail. Not exactly quality photography, but I kind of love it. Our puppy is such a goof.

Home Stories A2Z

Another step closer

Our VDOT permit was issued today! Take a look at this beauty:

Ummm....why do you need a permit from the Department Transportation??
Seems weird that the Dept. of Transportation has to be involved to build one little house, doesn't it? I mean, it's not like we need them to put in a new road or anything! But apparently everyone has to get a permit just to put in a new driveway. 

Wait... how much did you have to give them?!?!
Even more surprising than VDOT being involved in the first place was that we needed to put up bond money to promise we wouldn't screw up the road. And it's serious money too - $20K!! (Usually it's $10K for a driveway, but we had to put up another $10K because there's a ditch by the side of the road and we need to install a culvert pipe under the driveway). We don't exactly have a spare $20K lying around (especially after our down payment!), so we just paid a $200 fee to a bond company to handle it - it sounds like most people go with that option. 

Sidenote - we also had to do something similar for a 'Conservation Agreement'. For that one, we just had to put up $2K that we get back based on the accurate completion of the grading plan. And we had to do a 'Pro Rata Share Agreement' for the water drainoff from our property - that one's not refundable sadly but was less than $500 at least. So many random pieces to this process!

But how complicated was it?
Like everything else, getting this permit has been slower and more complicated than we expected! It took about three weeks to hear back from VDOT, and then of course, there was an issue. Apparently the way the driveway was drawn on our plans it crossed the property line, so it sweeps out at the end onto the adjacent property (not sure how no one noticed/mentioned that earlier...). The picture shows the problem - just a small portion of driveway is shown; the house is way back from there.

We had to get a signed & notarized 'letter of no objection' from the owner of the lot next door. He's been great - he's the guy we bought our land from and who owns the still vacant lot next to it. We've had to keep bugging him over and over again, and we are so thankful he's been so easy to work with! We actually just met up with him today to get this letter taken care of, and just a few hours later VDOT issued the permit - so luckily things went very quickly & smoothly after the initial wait.

So what's next? Can you start building?
Nope, still not yet! Now that the VDOT permit was issued, the builder can finally pick up our approved plans from the county. Then they need to be submitted to the Zoning Department. We're also waiting on the Building Plan Review (apparently our drawings had a few comments that are currently being addressed). After those two approvals (which we expect to take a couple of weeks), then we can finally get our building permit. So still a few more steps, but we're getting there!

Wednesday, October 31, 2012

Happy Halloween...


I hope you're having a fun Halloween! Eat lots of candy for me!
...from Smokey the psycho tiger!

Friday, October 26, 2012

Halloween Bottles

We're having a lazy Friday night of some drinks on the couch while watching a Walking Dead marathon on Netflix. Watching all those zombies got me inspired to make some quick, easy, & practically free creepy bottles to use for Halloween decor - using these great labels from the EllinĂ©e blog.


I first got the idea to do this when I saw these bottles at World Market. I really liked them, but I'm way too cheap to pay $30 for empty bottles - and they looked so simple to make (minus the snazzy colors and stoppers, of course). I actually started making my own labels but then got sidetracked and never finished - and when I stumbled across the free printable labels from EllinĂ©e today through the Creativity Exchange's post on favorite Halloween ideas, I decided to just use those instead since I liked them more than the ones I had started!

Materials:
  • Empty glass bottles (I used a wine bottle, 2 beer bottles, and a hot sauce bottle)
  • Printed labels (you can download the ones I used here)
  • Scissors & glue (if you printed on regular paper rather than label paper)
  • Corks or other stoppers (optional)
  • Twine (optional)
Cost: Basically free!

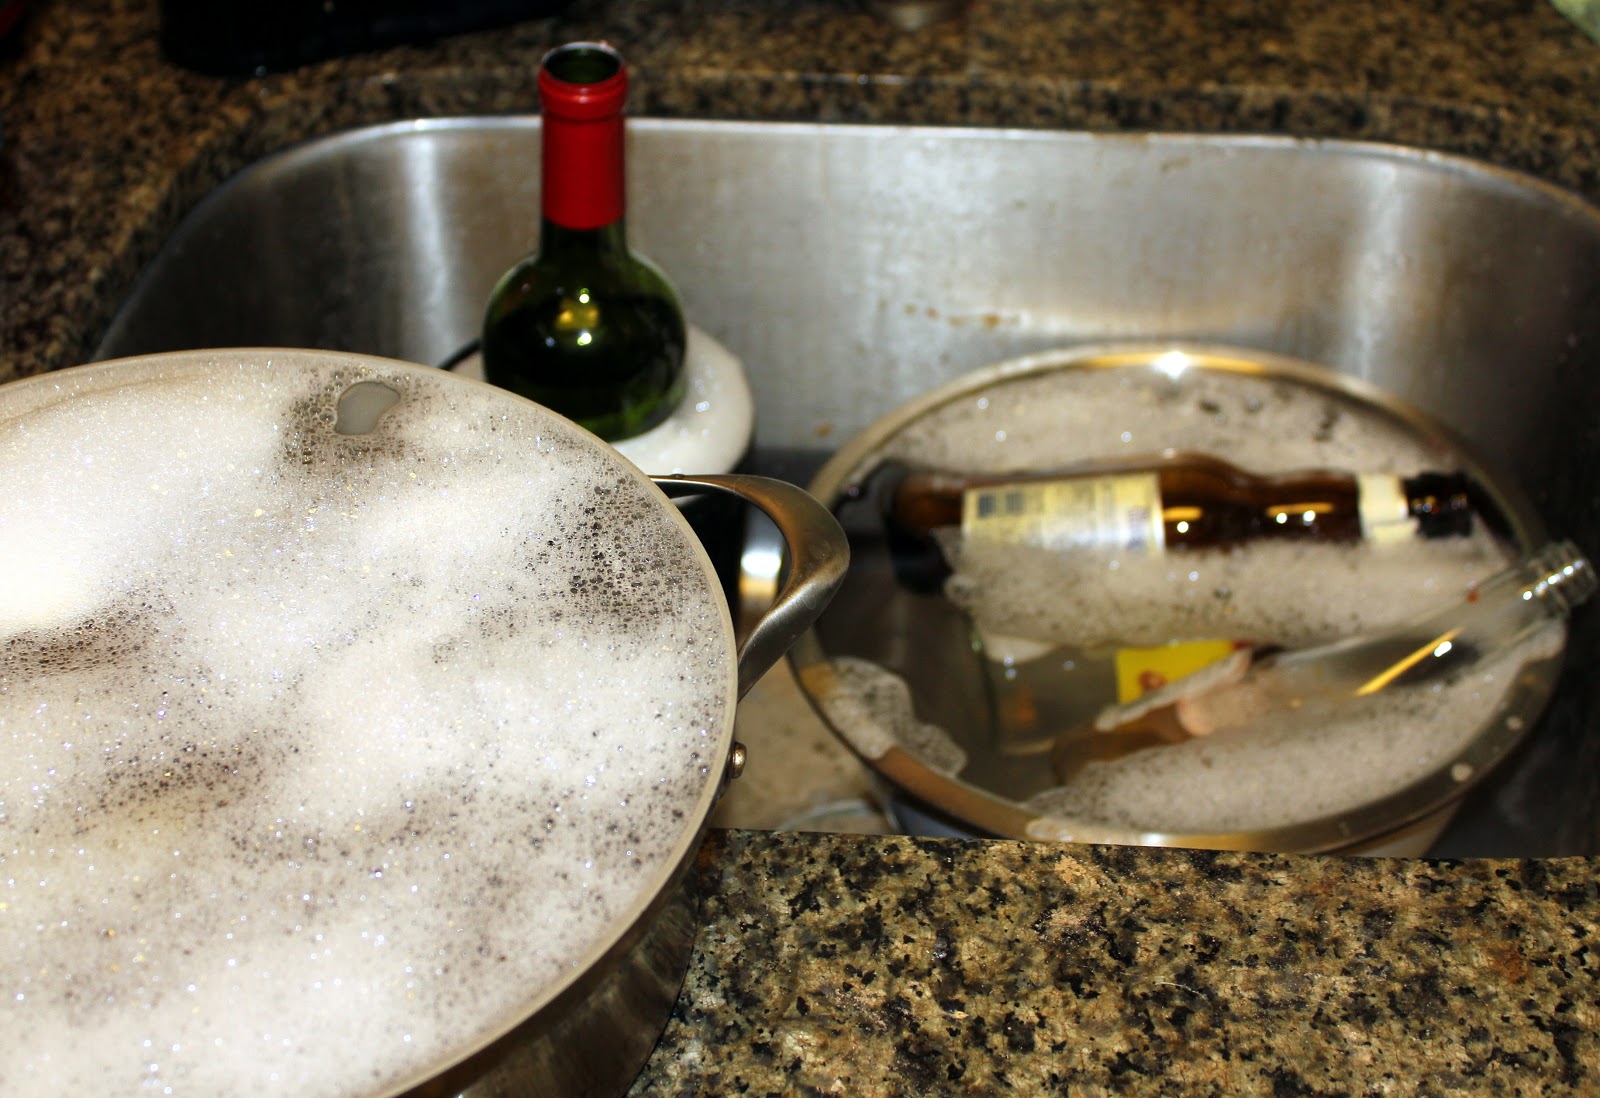
The first (and worst) step of the process is to get the old labels off your bottles. I started by soaking mine in very hot soapy water for about ten minutes...

This method worked like magic for the beer bottles. I was all excited and did a little happy dance for my new found trick. But I danced too soon - for my other bottles, especially the wine bottle, the labels were a lot trickier to remove. Those took some scraping and I ended up busting out the Goo Gone. Once you give your bottles a good rinsing and dry them off.

Next, cut out your labels. These were designed for wine bottles and will fit those perfectly. For my smaller bottles, I just cut the borders off rather than resizing, although I do think they look nicer with the full label.


Then glue on your labels. I used an Elmer's glue stick (don't judge - I couldn't find anything around the house that would work better!).

For the stoppers, I put a full cork in the wine bottle (duh), cut one in half for the two beer bottles, and cut out a small piece of cork for the skinny hot sauce bottle opening. I had some twine lying around and decided to wrap up the top of one of the beer bottles to make it look a little different than the other. Then I decided to wrap the clear one up a bit too to make it look a little more interesting.

Here are a couple of pics of the final product. I like them even better in the candlelight


Thanks so much to EllinĂ©e for designing and sharing these labels! And to Cyndy at the Creativity Exchange for highlighting the labels in her Friday Favorites!

Home Stories A2Z

Saturday, October 20, 2012

Perfect fall day for a hike (at our future park!)

One of the best things about the location of our new house is the fact that it's walking distance to a park - and not just any ol' park, but Lake Accotink Park - which is almost 500 acres including a 55 acre lake! And one of the trails through it is the Cross County Trail, which (you're going to be shocked at this) is a trail that spans across the whole county. For my marathon runner hubby, it'll be great to have access to miles and miles of trails that he can run to straight from the front door. I don't need quite so many miles, but I'm super excited to have a such a close place to go for a hike, take out the kayaks, go for a (slow & short) run, or just generally escape to nature.

It was a beautiful fall day today, so we thought we'd go for a little hike in 'our' future park. Here are a few of the pics. (Sidenote - I can go a little overboard with pictures. I always take too many, and I always have a hard time weeding them down. This is a lot of photos for one blog post, but I had almost 50, so be proud of me for reducing them this much at least! )
Welcome to the lake!


Lake Accotink dam


The lake in all its fall loveliness


This is the entrance close to our new house
Yellow trees + blue skies
Smokey is an excellent hiker (except when there are squirrels - he almost ripped my arm out...)


He looks a little worried (maybe because he knows he almost ripped my arm out?)


Heron! Somehow Smokey didn't notice him, even though the bird was taller than he is
What are these berries?? I don't know, but they're pretty!

Getting close to dusk
Smokey was going nuts at the little beach area. Wouldn't sit still for a sec!
One of the trails goes across this cute little bridge

The marina area


Doesn't it look like a great park? Definitely a perk of our location!

Friday, October 12, 2012

How to feel less guilty for being a tree killer


Ahh.... look at our lovely land... 


Our beautiful forest (and awkwardly posing pup who loves it)...

Too bad we'll be tearing a lot of it down... :/

Environmental conservation is an important issue to us, and the fact that we are building a house on this lovely, raw, wooded land makes us feel pretty awful. We recently drove by a construction site where they had just cleared out the land, and this was our conversation:

B: Look at all those trees they knocked down. That's just sickening.
J: ...Umm... well... you do realize we're about to do that too, right?
B: Yeah, I know. I hate it. 

And that pretty much sums up our feelings. We're keeping the trees in the backyard and will replant some trees in the front, but still, we feel kind of evil.  To help make up for our destruction, we're planning to give a donation to help with forest restoration. 

If you'd like to help offset your new construction, or better yet, if you just want to spread the tree-love, here are some relevant charities along with their mission statements and Charity Navigator ratings (which have a 4 star max):

  • The American Forest Foundation - AFF's mission is to ensure the sustainability of America’s family forests for present and future generations. Charity Navigator rating: 4 stars
  • Forest Trends - Forest Trends' mission is to expand the value of forests to society; to promote sustainable forest management and conservation by creating and capturing market values for ecosystem services; to support innovative projects and companies that are developing these markets; and to enhance the livelihoods of local communities living in and around those forests. Charity Navigator rating: 4 stars
  • ForestEthics - ForestEthics' mission is to protect Endangered Forests, wildlife, and human well-being. Their campaigns consider all of the issues that affect wild places and the wildlife and people that depend on them—from biodiversity to air and water quality to climate change. Charity Navigator rating: 4 stars
  • American Forests - American Forests' mission is to protect and restore forests, helping to preserve the health of our planet for the benefit of its inhabitants. If you choose to plant trees, every dollar you give plants a tree. Charity Navigator rating: 3 stars
  • National Forest Foundation - NFF engages Americans in community-based and national programs that promote the health and public enjoyment of the 193-million-acre National Forest System. Charity Navigator rating: 3 stars
  • The Wilderness Society - The Wilderness Society's mission is to protect wilderness and inspire Americans to care for our wild places. Charity Navigator rating: 3 stars
  • Plant a Billion Trees by The Nature Conservancy - The Plant a Billion Trees campaign is an unprecedented major restoration initiative launched by The Nature Conservancy in 2008 to restore Brazil's Atlantic Forest. Every dollar plants a tree. The Nature Conservancy's Charity Navigator rating is 3 stars.
  • Trees for the Future - Trees for the Future doesn’t just plant trees for their ecological benefits, but to benefit people in need. As an agroforestry charity, they combine agriculture and forestry to create integrated and sustainable land-use systems. Charity Navigator rating: 3 stars
  • Arbor Day Foundation - The Arbor Day Foundation's mission is to inspire people to plant, nurture, and celebrate trees. Charity Navigator rating: 2 stars

Do you support any of these charities? Or do you know of any others I should add? 


Wednesday, October 10, 2012

A momentous day!!

Today was a momentous day in our home building process!!

So, you may ask, what happened? Is the home complete? Did you break ground? What huge and exciting event occurred?!

Well... our plans were officially approved by the county!!! Huzzah!! 

Ok, that may not sound too exciting to you. And truthfully, I don't think it would be that exciting to us either - if it had happened a month or two ago. But holy moly has this taken longer than expected! We closed on our land at the end of July, and the plans were submitted in early August. We waited... and waited... got rejected... waited for the engineer and county to go back and forth... and back and forth again... heard we should be approved.... waited a little bit more... then finally today, October 10, we got this email: 


SUCCESS!!! After all that waiting, it's made this approval seem like a pretty big deal! 

Bryan called me from Disney World once we heard. That's right, he's in Disney World for work this week. Tonight he has a beer & wine event at Epcot, then they get extra hours at the park after it closes. Sounds a little more exciting than my night of Trader Joe's sushi and tv with the critters on the couch, but hey, I'm not complaining! Plus look how cute these guys are watching tv together (apologies for the ugly low light phone pic... and all the shoes in the background-that part's all Smokey's doing):