I've been pinning away on my
home decor projects board. The problem is, for about 99% of them, I want to do the projects in our new house, so there's not a lot I can start on yet. But one pin I came across was perfect for our condo -
this one. Our return air grille was all mangled, and most likely original to our mid-1980s building. It always looked ugly but I managed to ignore it... until we got our HVAC unit replaced. Now our air filters go directly behind the grille, so we have to unscrew the stupid/ugly/nasty thing every few months, then awkwardly try to replace it in the busted up drywall. Not fun. So, I decided to make a new one that would a) look a million times better, and b) be much more simple to remove and replace.
I basically followed the instructions in the
original post, right down to the union jack sheet metal. However, my one big change was that I wanted something that would be super easy to remove & replace so it wouldn't be such a pain to change the air filter. My first thought was velcro, which had been suggested in the comments of the original post. I even bought the velcro and took it home... but then I realized just how thick it was. It would have been about as thick as my molding, and it obviously wouldn't have been flush against the wall. I started searching around online to see if I could find any clips that would work - then
bingo! -
these little gems were perfect. Mirror mounting clips that swivel, and that also happened to be 1/4 inch thick, just like my molding. These were all of the supplies I ended up using...
Supplies:
- Molding/wood (mine was 2" wide and 1/4" thick)
- Sheet metal (my Home Depot didn't have anything good, so I bought this kind)
- Tin snips (I bought these)
- Super glue (I used Loctite)
- Sandpaper
- Paint
- Caulk
- Mirror mounting clips or other fasteners (in case you missed it above, I used these)
- Screwdriver
When I went to buy the molding at Home Depot, I decided to saw the 4 pieces to the proper size in the store, so I wouldn't have to mess with a saw later. My grille is 18x18, so I sawed two 18" pieces and two 14" pieces. The only thing I had to cut at home was the sheet metal - I wasn't sure how hard it would be, but it was very easy - no problem at all for my wimpy hands!
 |
| Tin snips are awesome! |
I sanded my wood a bit, then moved onto painting all the pieces. We still had leftover trim paint that was given to us when we moved in (some sort of Sherwin Williams semi-gloss (very) off white paint... honestly, I wouldn't recommend the color anyway!). Painting the molding was easy peasy. Painting the sheet metal was annoying. I just painted it on top of the Amazon box it came in, and after finishing each layer, I propped it up on old beer bottle caps so it wouldn't stick to the cardboard - that part was fine. The annoying part was that paint does not stick to shiny metal very well (maybe I should have sanded the metal first? Any recommendations?). In any case, it took me 4 or 5 coats to get the thing properly covered.
 |
| Sheet metal after all the coats of paint (looks a little trippy when you stare at it, doesn't it??) |
To put it all together, I just super glued the wood frame together, then glued the sheet metal on the underside. Then, I caulked in the 4 spots between the wood pieces.
 |
| Swivel clips, I love you! |
The last step was installing the clips, which just involved screwing them into the wall. They work perfectly! The only slight downside to them is you can see the silver bits of the clips showing when the grille is on. I considered painting them to match, but given the 5 coats needed for the sheet metal (and the fact that I had already attached them by the time I thought about it), I convinced myself that a little silver bling on the wall is just fine!
 |
| Do the silver clips bother you? If so, then plan ahead (unlike me) and paint them when you paint your sheet metal. |
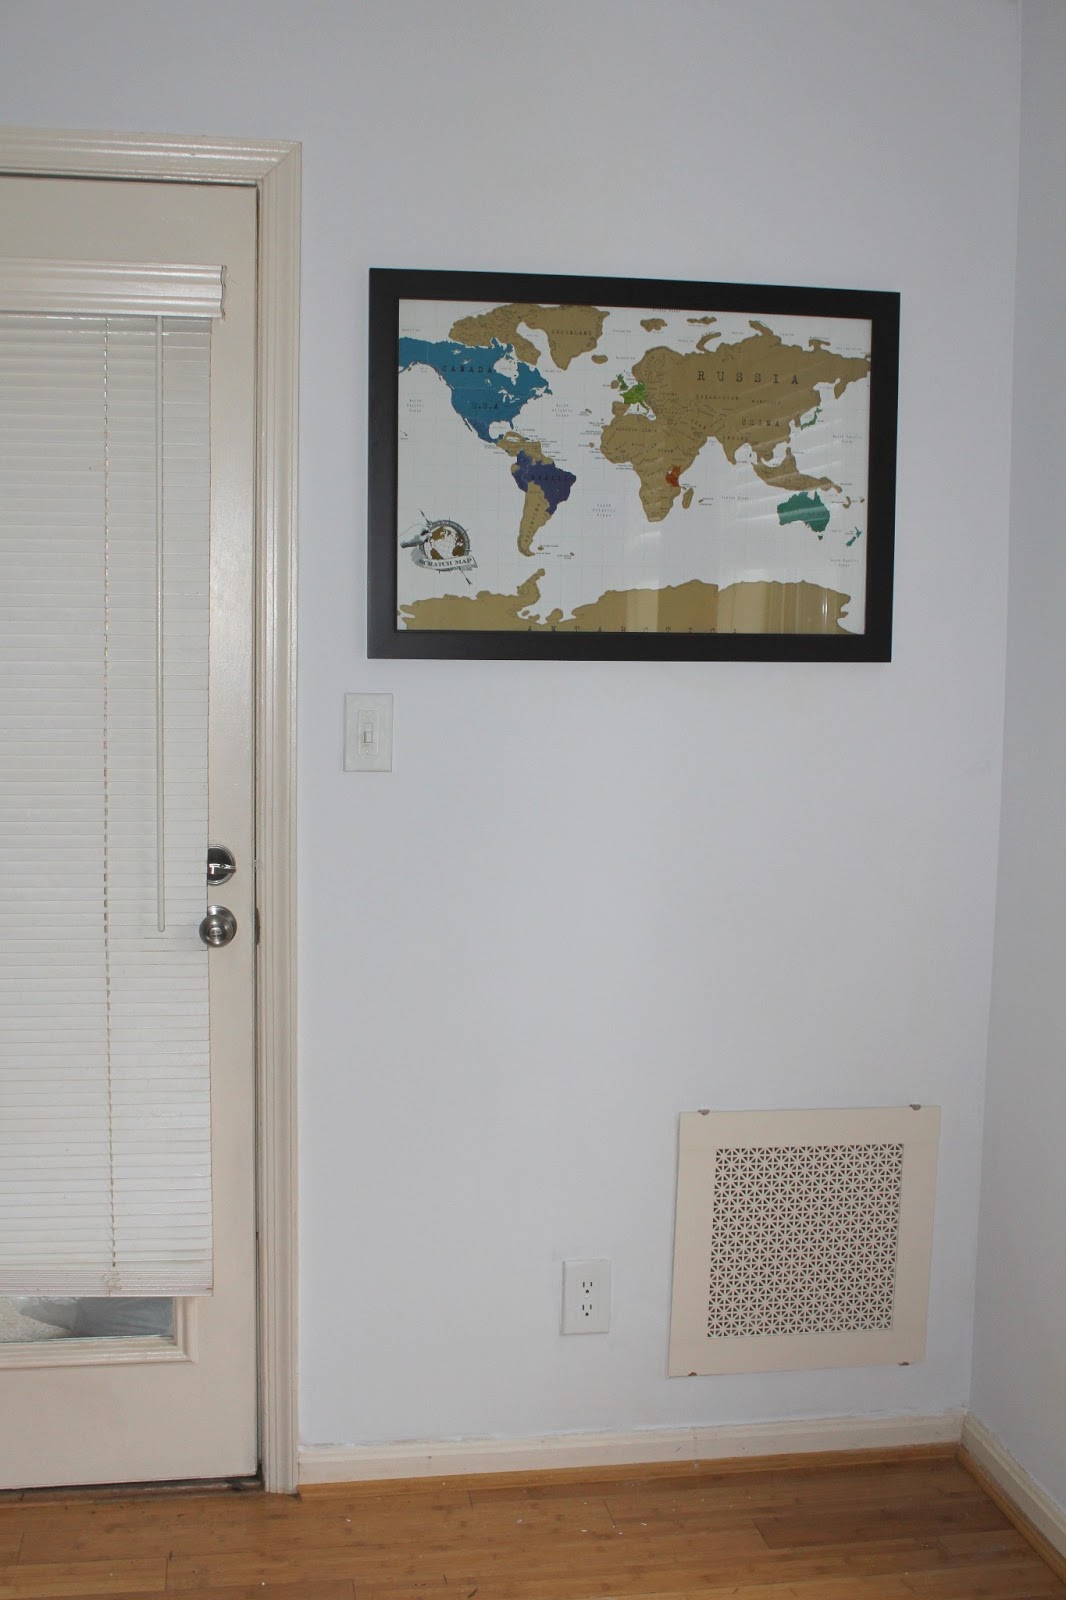
You may have noticed that the wall color is different in the before pic - I have been painting like a madwoman lately. More on that coming soon! For now, here are a couple more pics of the grille in action (well, about as much action as something attached to the wall can have...).
 |
| Our grille is in our little sunroom by the patio door |
 |
| Smokey & the grille |
Overall, I'm really happy with how it turned out! Although it seemed a little intimidating at first (
uhhh... I need to buy sheet metal?!), it was pretty simple to put together too. What's your return air grille like - anyone else hating theirs as much as I was??
Featured in: Home Stories A to Z Tutorials & Tips Link Party; If It's Not Baroque Tuesday Link Party; The Breezy Birdie Tutorial Tuesday; Inspire Me Please Weekend Blog Hop; Suburbs Mama Sunday Linky Party


Wow, I'm impressed with your ingenuity in solving an everyday problem with something attractive. I wish you could design these covers for the builders! Thanks for the inspiration. I love people like you who think outside the box!
ReplyDeleteWarmly, Michelle
Faith, Trust & Pixie Dust
Thanks so much, Michelle! I can't take credit for the creativity of the idea but am happy to help spread it!
DeleteWe seriously need to do something like this in our home. It makes it so much more attractive!
ReplyDeleteGlad to hear you like the idea! Thanks so much for stopping by, Rachel!
DeleteNeat idea. Way better than the regular return vent. I would love it if you would share this over at my link party.
ReplyDeletehttp://www.ifitsnotbaroquedesignblog.blogspot.com/2013/03/tuesday-link-party-12.html
Awesome, I will definitely come link up!
DeleteCute idea! My air return grilles are so ugly!
ReplyDeleteThanks, Ginny!
DeleteIt looks so much better! I think i need to do this to mine too! I am having a linky party on sunday (starts on saturday at 6pm) please come and link this up.
ReplyDeleteThanks, Rita! I'm going to be computer-less this weekend, but if it's still open on Monday I will come link up then! Thanks so much for the invite!
DeleteI am featuring your return air grille today on my blog. Thanks for linking it up. The next party starts later today. I hope that you will link up again.
ReplyDeletehttp://www.ifitsnotbaroquedesignblog.blogspot.com/
Yay, that's great! Thanks so much, Lauren!!
DeleteLove it! So cute! I have the same problem with my Pinterest boards... I find all of these things that I want to do, but don't really want to put the time and money into them while we are renting! Can't wait until we buy a house!
ReplyDeleteHave you noticed it being easier to clean? I feel like our air grilles get so gross and they are kind of hard to clean. Maybe ours will get some love too! :)
www.FarMorePrecious.com
Thanks so much, Rachel! Our old one was gross & hard to clean too. So far, it seems like all the fur and whatnot isn't sticking to this one much at all, so I'm hoping it will stay a lot cleaner than the old one!
DeleteClever! Love this idea!
ReplyDeleteThanks, Kim!
Deleteinvestigate this site cheap designer bags replica site here luxury replica bags my explanation best replica bags online
ReplyDeletearticle source from this source try here check this site out official site index
ReplyDeleteWebsite dolabuy next page luxury replica bags article dolabuy ysl
ReplyDeletevisit dolabuy louis vuitton browse around these guys Dolabuy Prada click site Chloe Dolabuy
ReplyDeletep2w24t3o25 t0x27j3w81 s3n75e1x94 y6v91f2b84 z5k24m3d69 p8h46m4t66
ReplyDelete